Failed Sealer On Block Paving
How to Remove Failed or Incorrect Sealer from Block Paving
Now might be the right time to call a trained applicator. Removing sealer is messy, slow, and very tiring work. If you don’t feel confident or lack the right tools, let a professional handle this job to avoid mistakes.
Sealing block paving helps protect it and makes it look better. But using the wrong sealer can cause serious problems. Bad sealing leads to flaking, blooming (white patches), or blotchy colour—spoiling the look and reducing the paving’s lifespan.
Luckily, you can fix the surface. Use the right tools and products to remove the old sealer and restore the blocks.
What Causes Sealer to Fail on Block Paving?
Many things can make a sealer fail and leave the surface looking uneven or patchy.
These are the most common reasons:
- Wrong Sealer Type – Water-based sealers won’t stick well over solvent-based ones. They often peel or flake off.
- Bad Weather – If you seal in damp, cold, or humid weather, moisture gets trapped and creates cloudy white marks.
- Too Much Product – Applying thick coats or resealing too soon can make the surface sticky and uneven.
- Dirty Paving – If you seal without cleaning the blocks, trapped dirt or leftover coatings can ruin the new sealer’s bond.
How to Remove a Failed Sealer
You must fully remove the old sealer before applying a new one.
Doing this helps the new product stick well and gives long-term results.
Use a Specialist Sealer Remover
A proper block paving sealer remover breaks down the old coating without harming the surface.
Look for one that:
✔ Breaks down failed or peeling sealers quickly and safely
✔ Removes blooming, patchy, or flaky coatings completely
✔ Prepares the blocks for clean, smooth resealing
Avoid using general paint or varnish removers. They often damage block paving and affect the colour or texture.
How to Avoid Future Sealer Problems
After removing the old coating, follow these tips before resealing the surface:
✅ Let it dry fully – Wait until all moisture has gone from the paving
✅ Pick the right sealer – Make sure it suits the block type and any past treatments
✅ Seal in good weather – Choose dry, mild days with no rain expected
✅ Apply thin coats – Don’t overuse product or it may pool and dry unevenly
Why Use a Purpose-Made Sealer Remover?
Many strong cleaners or solvents can:
❌ Fade the colour of your blocks
❌ Damage the surface, leaving it rough or worn
❌ Leave residue behind, stopping the new sealer from sticking properly
A sealer remover made for block paving:
✔ Cleans the surface fully without damaging colour or texture
✔ Leaves no film or residue—perfect for resealing
✔ Makes the whole job faster, giving your paving a clean, fresh look again
If your block paving shows flaking, patchy colour, or cloudy white marks, the sealer has failed. Use a proper remover to clean the surface before sealing again.
Take your time, follow the right steps, and seal in good conditions.
You’ll get a smooth, lasting finish that keeps your paving looking fresh and protected for years ahead.
Showing all 2 results
-
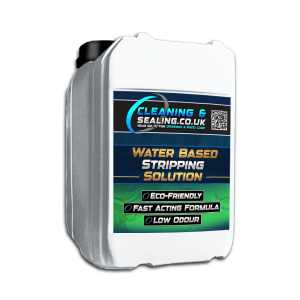
Stripping Solution
£73.99 Add to basket -
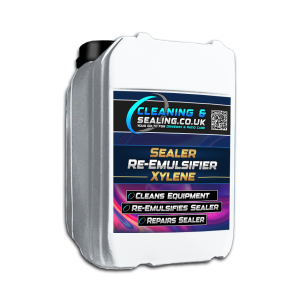
Xylene Solvent
Price range: £29.99 through £113.99 Select options This product has multiple variants. The options may be chosen on the product page